

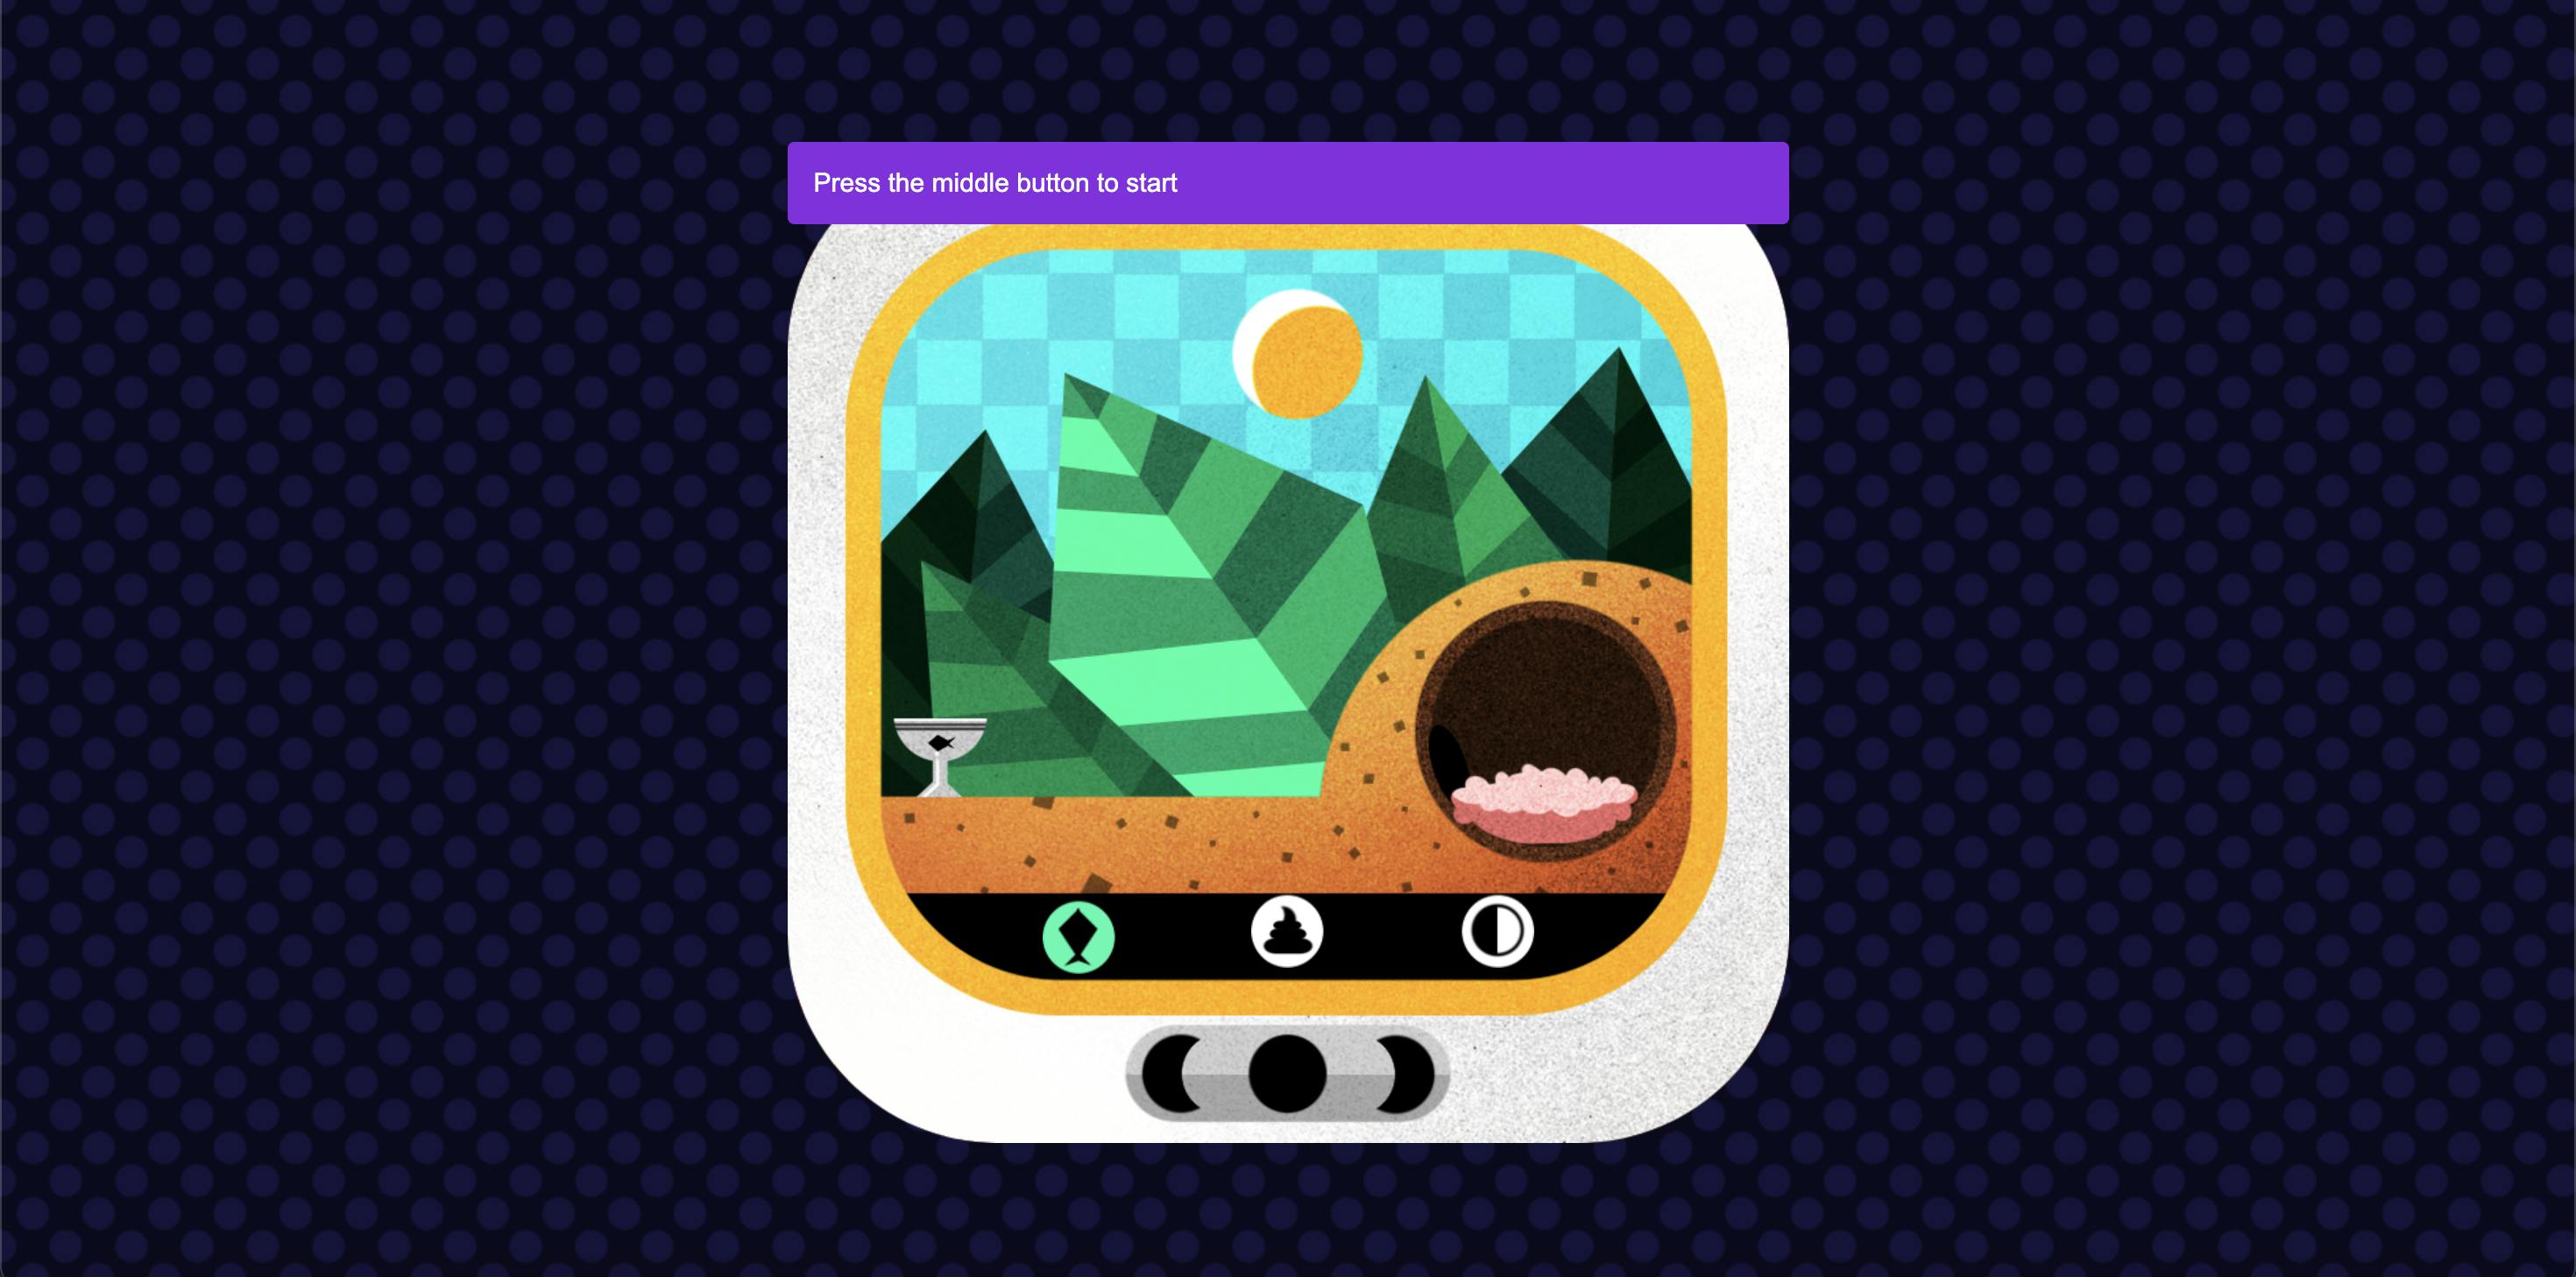
Hi all, remember we built a docker image of our pet-fox game and ran it on docker using docker cli commands. In this post, we will be using that image to deploy our application on Kubernetes ( minikube ).
What are the pre-requisites?
Push the Docker image of your application on docker-hub.
It's a simple process for a small application like ours.
Step 1: Create a directory k8s/ at the root of your project. Mine looks like this:
├── k8s
└── src
    ├── bg
    │   ├── BUTTONS
    │   └── ICONS
    └── pet
Step2 : Inside k8s/ Create a file named deployment.yaml .
apiVersion: apps/v1
kind: Deployment
metadata:
  name: fox-game-deployment
  labels:
    app: fox-game
spec:
  selector:
    matchLabels:
      app: fox-game
  template:
    metadata:
      labels:
        app: fox-game
    spec:
      containers:
       - name: fox-game
         image: akanksha0307/fox-game:v2
         resources:
          limits:
           memory: 800Mi
           cpu: "2"
          requests:
            memory: 512Mi
            cpu: "1"
         ports:
          - containerPort: 1234
apiVersion It specifies which Kubernetes API version needs to be used. You can learn more about them here.
kind It refers to the type of resource we want it to be.
All API resources exposed are available via kubectl. To get more information, do kubectl help.
kubectl [command] [type] [Name] [flag]
Expect the list below to change:
| all | events (ev) | podsecuritypolicies (psp) |
| certificatesigningrequests (csr) | horizontalpodautoscalers (hpa) | podtemplates |
| clusterrolebindings | ingresses (ing) | replicasets (rs) |
| clusterroles | jobs | replicationcontrollers (rc) |
| clusters (valid only for federation apiservers) | limitranges (limits) | resourcequotas (quota) |
| componentstatuses (cs) | namespaces (ns) | rolebindings |
| configmaps (cm) | networkpolicies (netpol) | roles |
| controllerrevisions | nodes (no) | secrets |
| cronjobs | persistentvolumeclaims (pvc) | serviceaccounts (sa) |
| customresourcedefinition (crd) | persistentvolumes (pv) | services (svc) |
| daemonsets (ds) | poddisruptionbudgets (pdb) | statefulsets |
| deployments (deploy) | podpreset | storageclasses |
| endpoints (ep) | pods (po) |
A Deployment named
fox-game-deploymentis created, indicated by the.metadata.namefield. This name will become the basis for the ReplicaSets and Pods which are created later. See Writing a Deployment Spec for more details.The
.spec.selectorfield defines how the created ReplicaSet finds which Pods to manage. In this case, you select a label that is defined in the Pod template (app: fox-game).The
templatefield contains the following sub-fields:The Pods are labeled
app: fox-gameusing the.metadata.labelsfield.The Pod template's specification, or
.template.specfield, indicates that the Pods run one container,fox-game, which runs theakanksha0307/fox-game:v2Docker Hub image at version 2.Create one container and name it
fox-gameusing the.spec.template.spec.containers[0].namefield.
Here
containerPortis '1234' because that's where my application runs at. Change it according to your application's port.Learn more about Deployment here.
Step 3: Inside k8s/ . Create a file named service.yaml .
apiVersion: v1
kind: Service
metadata:
  name: fox-game-service
spec:
  selector:
    app: fox-game
  type: LoadBalancer
  ports:
    - protocol: TCP
      port: 6000
      targetPort: 1234
The Service API, part of Kubernetes, is an abstraction to help you expose groups of Pods over a network. Each Service object defines a logical set of endpoints (usually these endpoints are Pods) along with a policy about how to make those pods accessible.
resources if you do not define it in your service you might get this message
One or more containers do not have resource limits - this could starve other processes
It is a good practice to declare resource requests and limits for both memory and cpu for each container. This helps to schedule the container to a node that has available resources for your Pod, and also so that your Pod does not use resources that other Pods need - therefore the "this could starve other processes" message.
Learn more about Services here.
Step 4: Start your minikube cluster.
$ minikube start
# The output will look like this:
😄  minikube v1.29.0 on Darwin 13.2.1 (arm64)
✨  Using the docker driver based on existing profile
👍  Starting control plane node minikube in cluster minikube
🚜  Pulling base image ...
🏃  Updating the running docker "minikube" container ...
🐳  Preparing Kubernetes v1.26.1 on Docker 20.10.23 ...|
🔎  Verifying Kubernetes components...
    ▪ Using image docker.io/kubernetesui/dashboard:v2.7.0
    ▪ Using image registry.k8s.io/metrics-server/metrics-server:v0.6.2
    ▪ Using image gcr.io/k8s-minikube/storage-provisioner:v5
    ▪ Using image docker.io/kubernetesui/metrics-scraper:v1.0.8
💡  Some dashboard features require the metrics-server addon. To enable all features please run:

    minikube addons enable metrics-server


🌟  Enabled addons: storage-provisioner, default-storageclass, metrics-server, dashboard
🏄  Done! kubectl is now configured to use "minikube" cluster and "default" namespace by default
Step 5: Make sure you have kubectl installed by typing kubectl version.
$ kubectl version
# The output will look like this:
Client Version: version.Info{Major:"1", Minor:"26", GitVersion:"v1.26.2", GitCommit:"fc04e732bb3e7198d2fa44efa5457c7c6f8c0f5b", GitTreeState:"clean", BuildDate:"2023-02-22T13:39:03Z", GoVersion:"go1.19.6", Compiler:"gc", Platform:"darwin/arm64"}
Kustomize Version: v4.5.7
Server Version: version.Info{Major:"1", Minor:"26", GitVersion:"v1.26.1", GitCommit:"8f94681cd294aa8cfd3407b8191f6c70214973a4", GitTreeState:"clean", BuildDate:"2023-01-18T15:51:25Z", GoVersion:"go1.19.5", Compiler:"gc", Platform:"linux/arm64"}
Step 6: Use kubectl apply command to apply deployment and service.yaml files.
$ kubectl apply -f k8s/deployment.yaml
$ kubectl apply -f k8s/service.yaml
Step 7: Ensure pods for your application are created.
$  kubectl get pod
OR
$  kubectl get po
## The output should look like this
NAME                                   READY   STATUS    RESTARTS      AGE
fox-game-deployment-55d7fb775c-j89g2   1/1     Running   2 (14m ago)   94m

## You could also try using '-w' to watch the status of your pods changing from ContainerCreating to Running in real time.
$ kubectl get pod  -w
Step 8: Ensure service for your application is created.
$  kubectl get service
OR
$  kubectl get svc

## The output should look like this
NAME               TYPE           CLUSTER-IP       EXTERNAL-IP   PORT(S)          AGE
fox-game-service   LoadBalancer   10.107.240.158   <pending>     6000:31268/TCP   93m
Step 9: Port forward your service to visit it in your browser.
$  kubectl port-forward service/fox-game-service 9000:6000
##  <Host-Port>:<Service-Port>
Step 10: Open your browser and visit: http://localhost:9000/ . And you'll be able to see your application running.
Step 11: After you're done playing around with your application, make sure to delete the pods and other resources deployed on minikube otherwise they'll eat away at your computer's resources unnecessarily.
$ kubectl delete deploy fox-game-deployment
  deployment.apps "fox-game-deployment" deleted

$ kubectl delete svc fox-game-service
  service "fox-game-service" deleted

# And at last stop your minikube cluster
$ minikube stop
Were you able to deploy your application or did you face any difficulty? Let me know in the comments :)